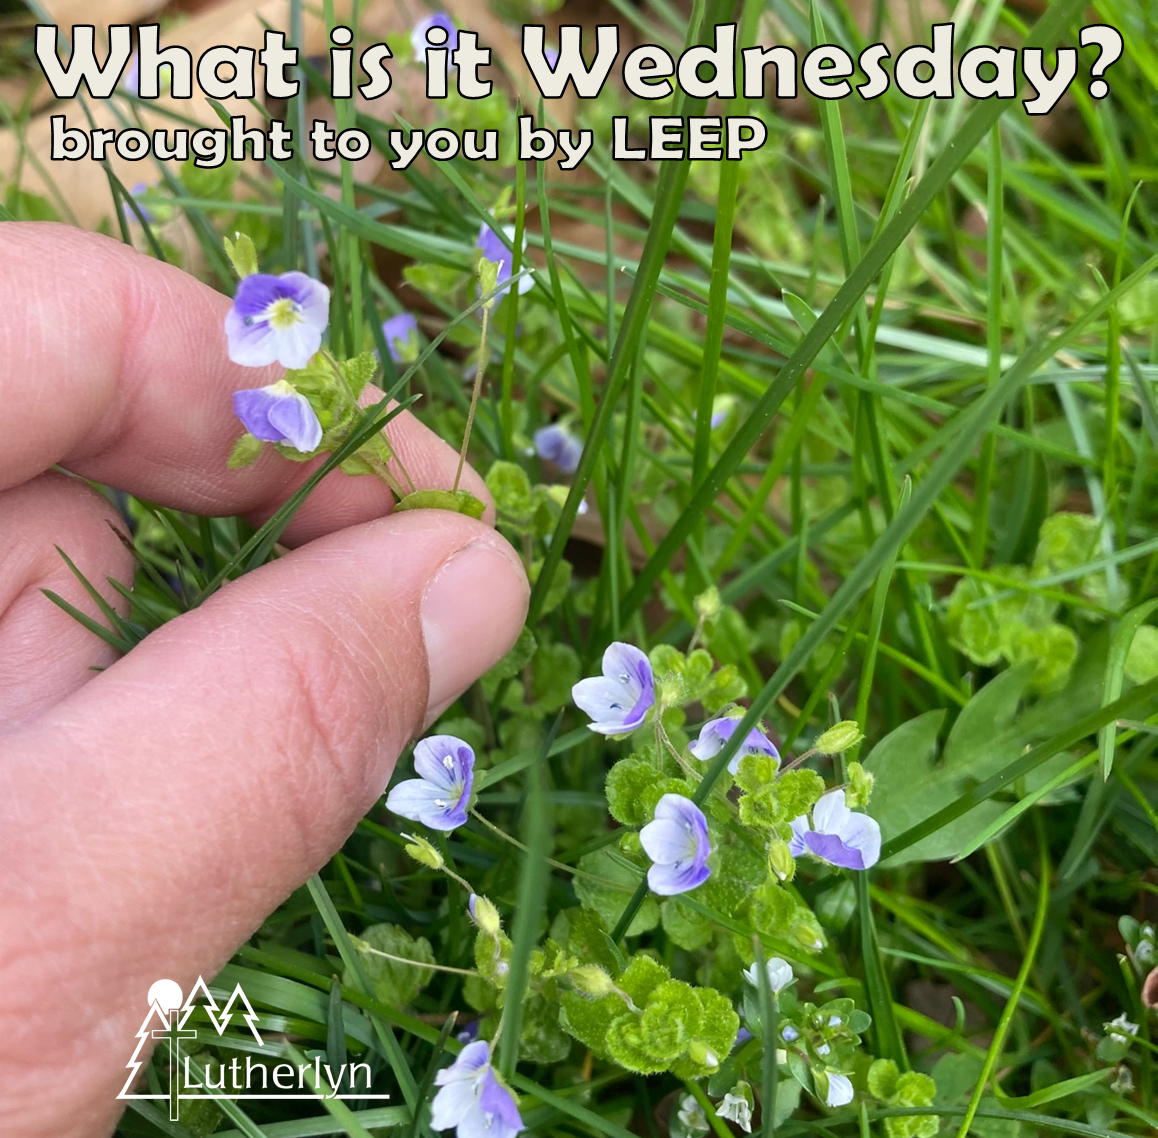
Thursday, April 29, 2021

What is it Wednesday: April 28, 2021


Can you identify what's in this photo?


Each Wednesday morning 

on Camp Lutherlyn's Facebook page

 the Lutherlyn Environmental Education Program posts a photo. 


Readers have all morning and afternoon 

to make their best guess about what the photo is. 


Around 6 pm LEEP provides the answer and a brief explanation.


Each week's What is it Wednesday post 

will also be posted on the Nature of Lutherlyn blog, 

 after it is posted on Facebook,

sometimes with additional bonus information. 


In addition to bringing you current editions of What is it Wednesday 

on the Nature of Lutherlyn blog, 

we will be reposting old editions,

creating a What is it Wednesday archive. 


This photo was posted as a What is it Wednesday on

April 28, 2021. 


And the answer is....


This tiny wildflower is Veronica persica. It also goes by many common names, including bird’s-eye speedwell, Persian speedwell, and common, field, and winter speedwell.

There are many varieties of speedwell, some wild and some cultivated. The main differences between varieties are in the shapes of the leaves, with also some variation in color and minor variations in shape of petals. This variety has one lower smaller petal that is nearly all white, two side petals that are half white and half streaked with purple, and and upper petal that is nearly all streaked with purple. As the common name Persian suggests, this variety is not native to our area and is originally from Eurasia, but it has become widely naturalized, especially in yards. There is a speedwell native to North America – American speedwell.

Speedwell tends to bloom early in spring, and we see it most when it is present in yards around camp before we begin mowing! I’m not sure if we see it so briefly because it doesn’t bloom for long, or if it gets cut shortly after it blooms. Either way, it is lovely to enjoy this little carpet of blue and white while it is here.

Like and follow Camp Lutherlyn on Facebook, to see What is it Wednesday posts when they come out and have the opportunity to share your guesses in the comments!


Thursday, April 22, 2021

A Wild Food Experiment: Cattail Rootstalk Flour

by Holly Schubert


We recently had to remove some cattails from one of the ponds at Lutherlyn. They were growing alongside the canoe dock and blocking access to the dock. It was fairly easy to get to them in mid-March because this lake is drained every winter and allowed to refill every spring. Because the lake had not been filled yet, the cattails were not underwater as they normally would be when the lake is full, so they were much easier to dig out!  

It was neat to pull the roots up from just under the soil, and to see easily what the root system looks like. Our What is it Wednesday post from March 31 was on the cattail roots. 


As that post points out, the majority of what we see here is actually the rootstalk - the horizontal stem that grows just under the soil. Cattail rootstalks are very starchy, and can be used to make flour. Since we had so many cattail rootstalks dug up, I decided to use what we would otherwise just throw out to make some cattail rootstalk flour. 

The first step, after digging them up, was to cut the useable pieces of rootstalk off of the rest of the plant debris. I kept all the horizontal pieces and cut off the parts where the stalks growing upward join the rootstalk, and any sections that looked damaged. I ended up with a pile this big (other plant pieces in the background): 
 

I took them home and hosed them off, and ended up with a large bucket all the way full and a planter about 2/3 full of rootstalk pieces. 


The outside of the roostalk is spongy and fibrous, much like the stalks and leaves of cattails, and also has the stringy and hairy actual roots growing off of it. To get to the part used for flour, you have to peel off this outer layer. What's left behind is the starchy core, with long strands of tough fiber running through it. I peeled all the rootstalks in the planter, and ended up with the pieces in the red bin below, The peeled outer parts left over in the planter will be thrown out (composted in the woods somewhere dry enough that they won't accidentally root and spread cattails into a place we don't want them).  


Peeling them took about 45 minutes and was fairly easy to do with a pocketknife.
Afterwards, I put all the peeled pieces in a tray with water in it. 


Then I started mushing up the pieces in the water, to break the starch out of the fibers. I found that the best way to do this was to start by holding the end of a piece between my thumb and forefinger, then hold my other thumb and forefinger about an inch down the piece, then kind of breaking it and wiggling that small section between them back and forth between my fingers, (a bit like cracking open a chemical light-stick). Working from one end of the piece to the other, breaking and wiggling and prying a little, I used my fingers and thumbs to work the starchy bits out of the fibers. 


After I broke up and worked through all the pieces I had a lot of starchy water in the tray, but the tangle of fibers from the pieces still had a lot of starch in them too. So I put more water in a bowl, and squeezed and worked the fibers in the water until I got most of the remaining starch out. That left me with just a clump of the fibrous pieces, and two containers of water with lots of starch mixed in it. This part of the process took about another 45 minutes. 


The starch was already settling to the bottom of the bowl and tray shortly after I was done breaking apart the fibers. After letting it settle overnight it was pretty easy to pour off the majority of the water without disturbing the starch settled on the bottom, so what was left behind was just the wet starch. 


Luckily, after that I was busy for a few days, and didn't really have the time or attention to devote to working on the flour. This was great because it made it easy to just let it sit for about a week to dry out. (It was also lucky that we had several warm dry days in a row that were good for drying - I just let the bowl and tray sit out on my dining room table.) 

First it got damp and clumpy
(I scraped it up a bit with a fork to see what the consistency was like) 


and eventually it got dry and hard.
At that point it was easy to break up into powdery clusters.
 

The next step is to break up the clusters into powder as fine as you can make it. I did this mostly just by crushing the pieces between my thumb and finger to break them up. You could also do this with a mortar and pestle, but I didn't use those until later. Just using my fingers, I got to where I had some fairly fine powder, and some harder clumps that didn't break up as easily. I sifted them so the powder and hard clumps were separate. 


Then I used the mortar and pestle to grind the hard clumps into fine powder.
(This worked very well and I wonder if I should have done all of it this way.)


I would grind, sift, and grind again to get as much of it as I could broken down. In the end I only had a small handful that I couldn't get ground into a finer powder (and it didn't seem necessary to expend a lot of effort to get that last bit). 

I ended up with maybe 3/4 of a cup of flour. 


That's not a lot of flour, but I only used about 1/3 of the cattails I had collected, and I didn't feel like any part of the process was particularly arduous or difficult. No one part of it was even really time-consuming, but it does take a while from start to finish because digging, cutting, and peeling/washing all took place on separate days, then drying takes several days. I didn't sit down and break it into flour all at one time - I just worked a little of it at a time when I felt like it, so that happened over another 2 or 3 days (maybe another 45 minutes total for that part). 

Of course the final step is actually using the flour to make food! I have a simple flatbread recipe that just uses flour, water, and oil. I used 1/2 Cup of whole-wheat flour, and 1/2 Cup of cattail flour (and a little salt) with 1/3 Cup of water and about 1/6 Cup of oil (an eyeball guess). Mixed all together, divided into balls, flattened, and cooked in a pan with a little non-stick spray: 


That amount made six cakes like the ones above, a little bigger than the palm of my hand. (They're a bit like johnnycakes made with flour instead of cornmeal.) They tasted pretty much the same as when I make them with 100% whole wheat flour! I thought maybe they would have a bit of the flavor of cattails, like the flavor and smell of cattail shoots, but it was not noticeable at all. 

It would be interesting to try using 100% cattail flour. The texture of cattail starch is kindof slimy (also a bit like the sliminess in between layers in cattail shoots), although once it dries that sliminess is not noticeable in the flour. I'm not sure how that texture would function as a flour on its own. I am not a baker and have almost no experience in working with different kinds of flour and other ingredients to create the right consistencies, but it would be fun to experiment with. I have about 1/4 cup of the flour left, and I think I will try adding it to Bisquick and see what kind of biscuits I get. 

I haven't gotten around to working with the large bucket of rootstalk pieces, and they were dug up several weeks ago. I suspect that they are no longer in good condition to use - maybe they've gotten moldy or rotten or otherwise not good. But I will check them and if they're still useable I think I will make more flour! It's a pretty easy process and it would be fun to try out more ways of using the flour (cattail pancakes?). 

Remember to only use cattails as food if they are growing in very clean water - cattails are great filter plants, which means they absorb a lot of what is in the water where they grow, both good and bad. It's also a good idea to always cook cattails before eating them, even just for a few minutes, in case they have bacteria in them from the water. 

Also, when eating a new wild food, it's always a good idea to try a small amount first, just in case it doesn't agree with you. I forgot this, was hungry, and ate 4 cakes pretty quickly! THEN I remembered this guideline...but luckily I was fine and had no problems with eating the cattail bread. 

It's always a delight to learn about new ways that we can be sustained by the earth and the ecosystems around us. This was definitely a wild food experiment worth spending a little time on! 


Wednesday, April 21, 2021

What is it Wednesday: April 21, 2021


Can you identify what's in this photo?


Each Wednesday morning 

on Camp Lutherlyn's Facebook page

 the Lutherlyn Environmental Education Program posts a photo. 


Readers have all morning and afternoon 

to make their best guess about what the photo is. 


Around 6 pm LEEP provides the answer and a brief explanation.


Each week's What is it Wednesday post 

will also be posted on the Nature of Lutherlyn blog, 

 after it is posted on Facebook,

sometimes with additional bonus information. 


In addition to bringing you current editions of What is it Wednesday 

on the Nature of Lutherlyn blog, 

we will be reposting old editions,

creating a What is it Wednesday archive. 


This photo was posted as a What is it Wednesday on

April 21, 2021. 


And the answer is....


This is a fresh young cone of a Norway spruce tree. 

This cone is a female cone. The female cones on Norway spruces are attached at the tips of upper branches. The male cones, which are smaller, are scattered throughout the lower branches. 


Both start out bright purple-pink and shift to green as they mature, though the male cones may look more yellow because they are full of pollen. Once the male cones release pollen, they dry up and fall to the ground. The fertilized female cones eventually droop on the branch, and become dry, brown, and hard, with seeds tucked underneath each scale. (See this previous What is it Wednesday post for more information on spruce seeds and cones.) 

The position of male cones on lower branches and female cones on upper branches prevents self-fertilization. With male cones down low and female cones up high, pollen from male cones must get blown by the wind to get high enough to reach a female cone. This wind will usually carry the pollen to another tree.  If, however, the cones were intermixed or the males were on top, the pollen would fall directly into its own female cones. Pollenating a nearby tree instead ensures more genetic diversity and a healthier tree population.


There seems to be a huge number of cones on this particular spruce tree this year! (This picture was taken shortly after the male cones developed and before the female cones appeared, about a week before this week's picture.) A little searching online told me that spruces are one type of tree that follows a "mast year" pattern of reproduction. Some years they produce WAY more seeds (in cones, in the case of spruces) than in other years. This is sometimes related to growing conditions, but can also be random and unrelated to conditions. This way, every so often, the tree produces far more seeds than the animals in its environment can eat, ensuring that periodically there will be plenty of seeds left behind to germinate and reproduce. If they always produced more seeds, the animal populations would gradually increase to match the amount of food resources in their habitat. With random mast years, the animal populations don't adapt to the higher amount of seeds. 

The information about spruces and mast years also pointed out that many stands of spruces are dominated by "super-producer" individuals - trees that produce far more cones than the other trees around them. This spruce tree in our picture seems to be a super-producer for its location. 

for more information:

Trees have so many tricks to help them survive and thrive, AND they look stunning while doing so! Be sure to get out and take a close look at the ways the trees around you are surviving and thriving! 

 Like and follow Camp Lutherlyn on Facebook, to see What is it Wednesday posts when they come out and have the opportunity to share your guesses in the comments!

Friday, April 16, 2021

What is it Wednesday: April 14, 2021


Can you identify what's in this photo?


Each Wednesday morning 

on Camp Lutherlyn's Facebook page

 the Lutherlyn Environmental Education Program posts a photo. 


Readers have all morning and afternoon 

to make their best guess about what the photo is. 


Around 6 pm LEEP provides the answer and a brief explanation.


Each week's What is it Wednesday post 

will also be posted on the Nature of Lutherlyn blog, 

 after it is posted on Facebook,

sometimes with additional bonus information. 


In addition to bringing you current editions of What is it Wednesday 

on the Nature of Lutherlyn blog, 

we will be reposting old editions,

creating a What is it Wednesday archive. 


This photo was posted as a What is it Wednesday on

April 14, 2021. 


And the answer is....


These are flowers of the serviceberry tree. 

Serviceberry is a small tree native to Pennsylvania forests. It gets pretty white flowers in the spring, sweet red edible berries in early summer, and its leaves turn a colorful yellow-orange in the fall.

This time of year there are many colorful flowering trees to catch the eye! In addition to serviceberry, redbud, dogwood, and various types of cherries are exceptionally pretty flowering trees that are native to Pennsylvania. (All trees flower in one way or another, but not all of them have showy or attractive flowers.) Choosing native trees and other plants in landscaping helps support local ecosystems by providing food for pollinators and preventing invasive species from spreading.

Like and follow Camp Lutherlyn on Facebook, to see What is it Wednesday posts when they come out and have the opportunity to share your guesses in the comments!

Monday, April 12, 2021

What is it Wednesday: March 24, 2021


Can you identify what's in this photo?


Each Wednesday morning 

on Camp Lutherlyn's Facebook page

 the Lutherlyn Environmental Education Program posts a photo. 


Readers have all morning and afternoon 

to make their best guess about what the photo is. 


Around 6 pm LEEP provides the answer and a brief explanation.


Each week's What is it Wednesday post 

will also be posted on the Nature of Lutherlyn blog, 

 after it is posted on Facebook,

sometimes with additional bonus information. 


In addition to bringing you current editions of What is it Wednesday 

on the Nature of Lutherlyn blog, 

we will be reposting old editions,

creating a What is it Wednesday archive. 


This photo was posted as a What is it Wednesday on

March 24, 2021. 


And the answer is....


These are the eggs of yellow perch
(both in the hand and in the water). 

Perch are one of the first aquatic animals to lay large masses of eggs in early spring in Miller Lake at Lutherlyn. 

Unlike bluegills and bass, yellow perch don’t build a nest for laying and developing eggs. Instead, females lay their long spiraling strands of eggs along the bottom of the shallow edges of lakes and ponds, sometimes draping them over sticks and vegetation. The males then deposit sperm over the strands of eggs. Eggs hatch in about 8-10 days. Neither the male nor female perch protect or care for the eggs or young. It is thought that perch eggs have a chemical deterrent, as they are rarely eaten by fish or other predators even though they are unprotected.

There are many signs that nature is “waking up” as winter fades and spring arrives. What spring signs have you noticed, in waters or on land? 

Like and follow Camp Lutherlyn on Facebook, to see What is it Wednesday posts when they come out and have the opportunity to share your guesses in the comments!

Thursday, April 8, 2021

What is it Wednesday: April 7, 2021


Can you identify what's in this photo?


Each Wednesday morning 

on Camp Lutherlyn's Facebook page

 the Lutherlyn Environmental Education Program posts a photo. 


Readers have all morning and afternoon 

to make their best guess about what the photo is. 


Around 6 pm LEEP provides the answer and a brief explanation.


Each week's What is it Wednesday post 

will also be posted on the Nature of Lutherlyn blog, 

 after it is posted on Facebook,

sometimes with additional bonus information. 


In addition to bringing you current editions of What is it Wednesday 

on the Nature of Lutherlyn blog, 

we will be reposting old editions,

creating a What is it Wednesday archive. 


This photo was posted as a What is it Wednesday on

April 7, 2021. 


And the answer is....


These pretty spring wildflowers are called bluets. 

We haven’t seen any bluets yet at Lutherlyn this year, this is a photo from a previous year – so far we have seen coltsfoot and dandelions, and the spring beauties and bluets should be coming out soon.

These early delicate spring wildflowers are sometimes known as spring ephemerals. They bloom briefly early in the spring, taking advantage of the time when lots of sunlight reaches the ground because there are no (or only very small) leaves on the trees. Late April and early May are a great time to see spring ephemerals.

Like and follow Camp Lutherlyn on Facebook, to see What is it Wednesday posts when they come out and have the opportunity to share your guesses in the comments!


Wednesday, April 7, 2021

What is it Wednesday: March 17, 2021


Can you identify what's in this photo?


Each Wednesday morning 

on Camp Lutherlyn's Facebook page

 the Lutherlyn Environmental Education Program posts a photo. 


Readers have all morning and afternoon 

to make their best guess about what the photo is. 


Around 6 pm LEEP provides the answer and a brief explanation.


Each week's What is it Wednesday post 

will also be posted on the Nature of Lutherlyn blog, 

 after it is posted on Facebook,

sometimes with additional bonus information. 


In addition to bringing you current editions of What is it Wednesday 

on the Nature of Lutherlyn blog, 

we will be reposting old editions,

creating a What is it Wednesday archive. 


This photo was posted as a What is it Wednesday on

March 17, 2021. 


And the answer is....


This is a maple syrup filter, and the residue filtered out of the syrup. 

Filtering is the final step in the process of making maple syrup.When the sap is boiled to concentrate the sugar, making it into syrup, other components in the sap are also concentrated and precipitate out of the syrup. This collects as a gritty residue in the syrup known as maple sand or nitre. 

Maple sand isn’t harmful, but filtering it out removes the gritty sediment so it doesn’t collect at the bottom of the syrup bottles, where it could get stirred up and re-introduced into the syrup when it is poured out.

Maple sand is made up of some of the minerals and nutrients trees bring in through their roots, along with small sugar crystals. The main components are calcium and malic acid (combined into calcium malate), and small amounts of potassium, magnesium, manganese, phosphorus, iron and other organic acids. As the syrup passed through the filter on its way into a glass jug, the maple sand collects in the filter and it is washed down the drain when the filter is cleaned. This filter is shown after straining about one gallon of syrup.

Maple sugaring season is finishing up at Lutherlyn, but if you missed it don’t worry! Every year our Maple Sugaring Saturday Safari is the first Saturday in March – maybe we’ll see you at it next year! 

Like and follow Camp Lutherlyn on Facebook, to see What is it Wednesday posts when they come out and have the opportunity to share your guesses in the comments!